What is Head Pressure in HVAC Systems? Let’s Find Out!
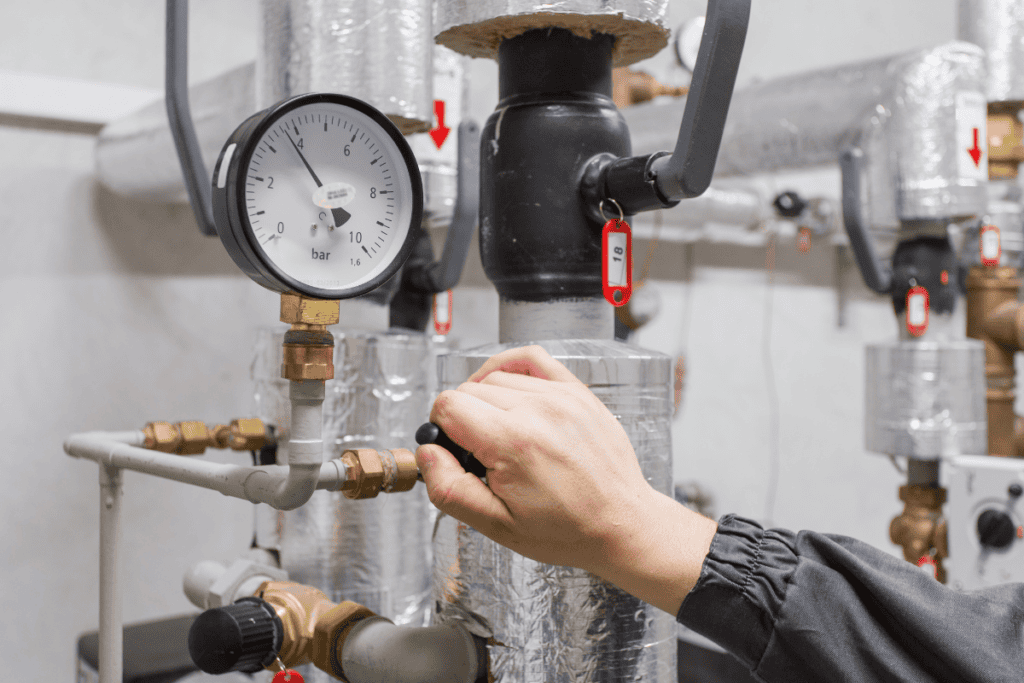
Head pressure is an important aspect of your HVAC system that plays a vital role in its overall efficiency and performance. It represents the pressure of the refrigerant in the condenser, which is essential for removing heat from the system.
In most HVAC systems, the normal head pressure range is typically between 200 and 250 PSI (pounds per square inch).
As a homeowner, understanding the importance of head pressure in your HVAC system can help you identify potential issues and take appropriate action.
In this article, we will explore the significance of head pressure, the signs and causes of high head pressure, and the solutions our technicians recommend to address this problem.
Contents
What Is Head Pressure in HVAC?
Head pressure refers to the pressure exerted by the refrigerant in the condenser, which is a key part of the refrigeration cycle. The condenser is responsible for releasing the heat absorbed by the refrigerant during the cooling process.
In simple terms, head pressure signifies the degree of compression the refrigerant undergoes before it reaches the expansion valve. The compressor in your HVAC system compresses the refrigerant, increasing its pressure and temperature. This high-pressure, high-temperature refrigerant then enters the condenser coil, where it releases its heat and condenses into a high-pressure liquid.
The role of head pressure in the refrigeration cycle is to facilitate the transition of the refrigerant from a high-pressure gas to a high-pressure liquid. This process is essential for the efficient operation of your air conditioning system.
Factors Influencing Head Pressure
1. Ambient Temperature
Ambient temperature plays a significant role in determining head pressure in your HVAC system. Higher ambient temperatures increase the temperature differential between the refrigerant and the surrounding air, making it harder for the condenser to release heat, which can lead to high head pressure.
For most cooling systems, the temperature differential is 20°F. This means that the condenser must work harder to dissipate heat into warmer ambient air, resulting in higher head pressures to maintain proper refrigerant compression.
2. Airflow
Adequate airflow over the condenser coils is essential for proper heat transfer from the refrigerant to the surrounding air. When airflow is restricted, either due to dirty coils, blocked vents, or a malfunctioning condenser fan motor, the condenser struggles to release heat effectively.
This limited heat transfer leads to higher head pressures as the system tries to compensate for the reduced cooling capacity.
3. Refrigerant Charge
The amount of refrigerant in your system, known as the refrigerant charge, directly impacts head pressure. Overcharging the system with too much refrigerant can lead to higher head pressures, as the gas compressor has to work harder to compress the excess refrigerant.
On the other hand, undercharging the system can cause the compressor to run for longer periods, also resulting in increased head pressure. Regular maintenance and leak detection can help maintain head pressure within the desired range.
4. System Design
The design of your heating and air conditioning system, including the size of the condenser coils, the type of refrigerant used, and the layout of the refrigerant piping, can significantly influence head pressure. Larger condenser coils provide more surface area for heat exchange, allowing for better heat dissipation and lower head pressures.
Different refrigerants have varying pressure-temperature characteristics, which can affect head pressure dynamics within the system. The layout and design of refrigerant piping can impact flow rates and pressure drops, influencing head pressure hvac levels.
Measuring Head Pressure
1. Selecting the Proper Equipment
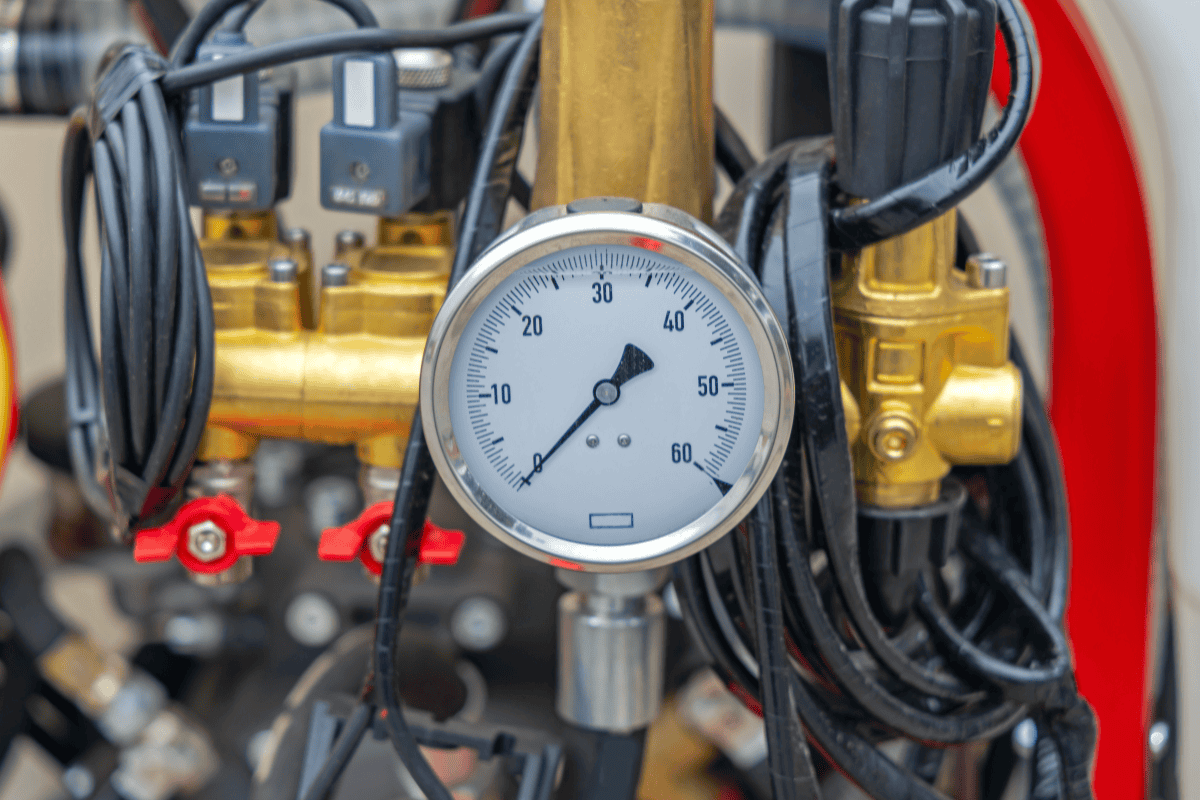
The first step in measuring head pressure is to choose the appropriate equipment. A pressure gauge suitable for measuring head pressure, such as a compound gauge, digital manometer, or refrigerant pressure gauge, is essential.
2. Locating the Pressure Ports
Once you have the proper equipment, locate the pressure ports on the condenser unit or along the refrigerant lines where the pressure gauge will be connected. The head pressure is typically measured on the high side of the system, where the refrigerant is in a condensed state.
Identifying the correct pressure ports helps in obtaining accurate readings and avoiding confusion with the refrigerant system’s low side.
3. Preparing the System
Before connecting the pressure gauge, make sure that the unit is running and operating under normal conditions. Allow the system to stabilize for a few minutes for accurate readings. This step is important because head pressure can fluctuate during start-up or under varying load conditions.
4. Connecting the Pressure Gauge
Once the system is stable, carefully connect the pressure gauge to the pressure port on the high side of the system. Make sure the connections are secure to prevent refrigerant leaks and get accurate readings.
5. Reading the Pressure
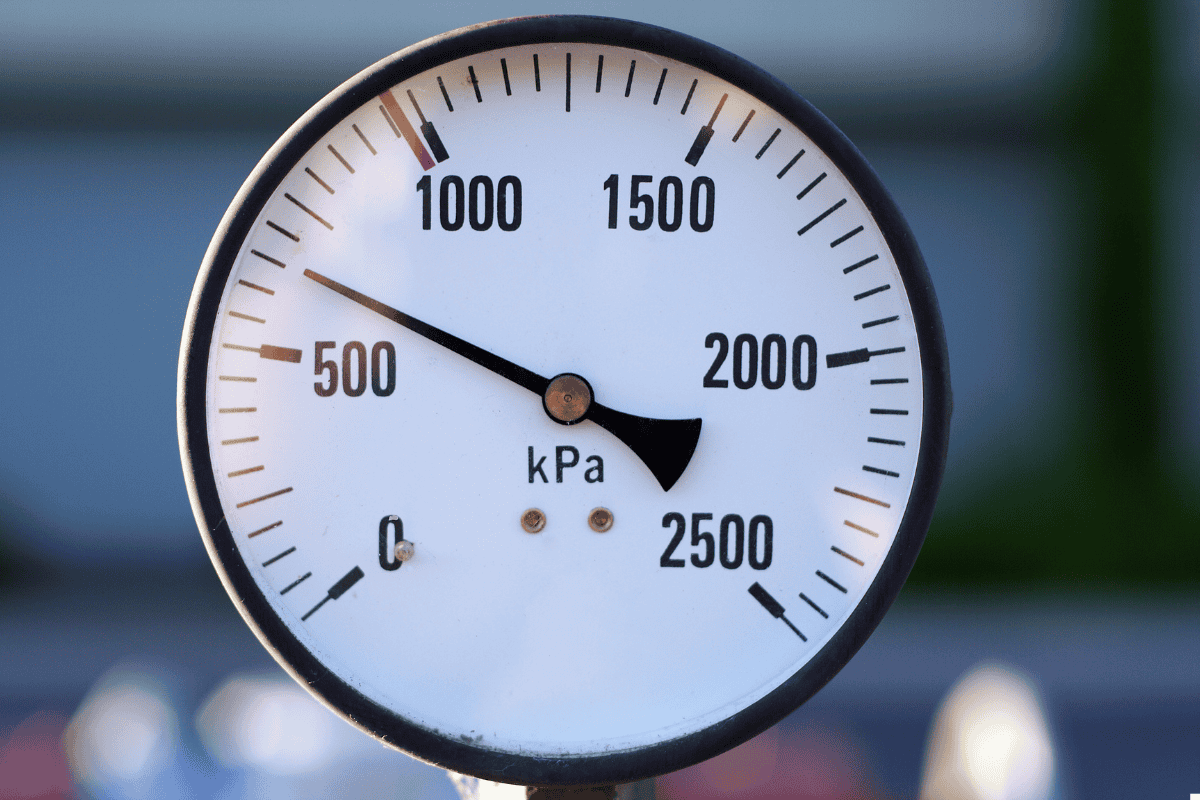
With the pressure gauge connected, observe the readings to determine the head pressure. The pressure will typically be displayed in pounds per square inch (PSI) or kilopascals (kPa), depending on the gauge.
6. Interpreting the Readings
Compare the measured head pressure with the manufacturer’s specifications or recommended operating ranges for your specific system. High or low readings outside of the expected range may indicate potential problems that require further investigation.
7. Recording the Data
Record the measured head pressure along with relevant system parameters, such as ambient temperature and system load. Documenting this data allows for trend analysis over time and helps in diagnosing recurring issues or tracking changes in system performance.
8. Disconnecting the Gauge
After obtaining the necessary measurements, carefully disconnect the pressure gauge from the system. Close any valves or ports to prevent coolant leaks or system damage. Proper disconnection is essential to maintain the integrity of the refrigerant system and avoid hazards.
Though you can measure head pressure on your own using the steps ahead, we do not recommend you to do so if you do not have proper knowledge of the equipment and the system.
6 Signs of High Head Pressure in an HVAC System
1. Warm Air from Vents
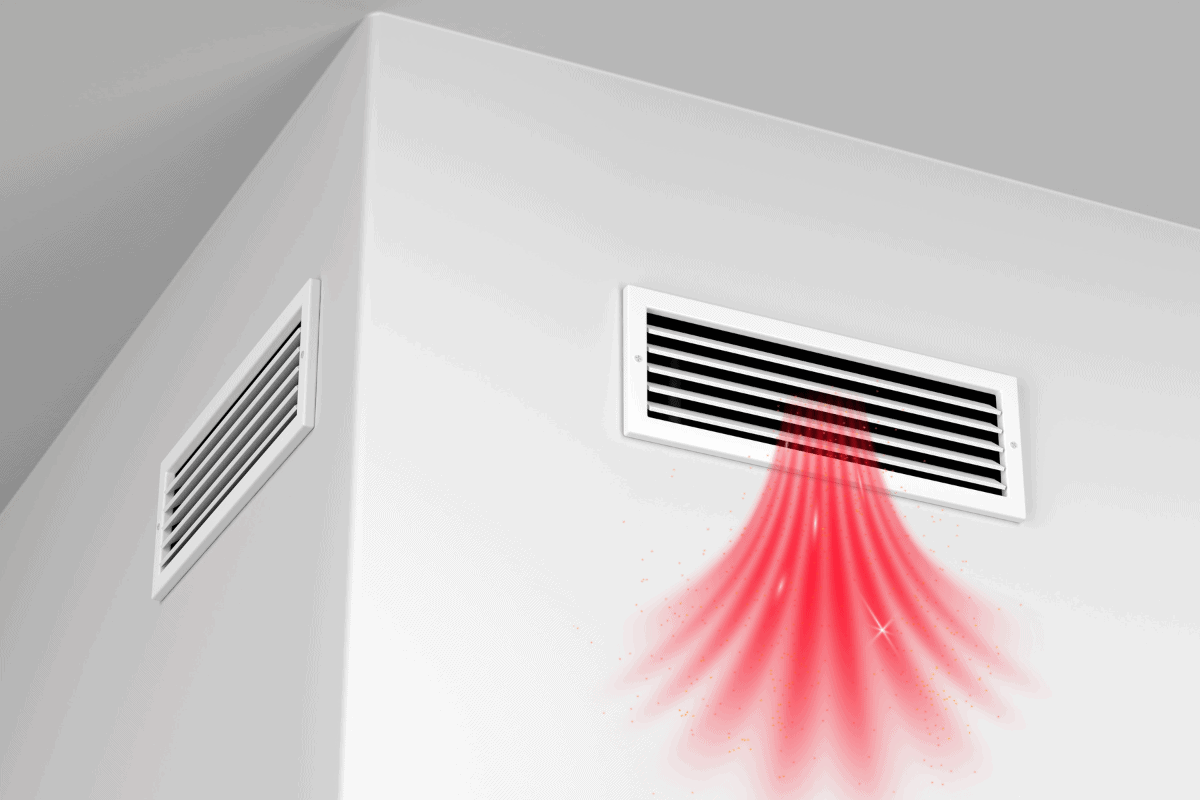
As a result, the system fails to remove sufficient heat from the indoor air, resulting in warm air being circulated through the vents.
2. Continuous Running of the Compressor
When head pressure is very high, the compressor may run continuously as it tries to maintain the desired temperature. Inefficient compression increases head pressure as the compressor struggles to maintain proper refrigerant flow and pressure levels. This can lead to increased energy consumption and overheating of the compressor.
For optimal energy efficiency and performance, it’s important to select a compressor with a high Seasonal Energy Efficiency Ratio (SEER) rating.
3. System Tripping or Shutting Down
High head pressure can trigger the system’s safety mechanisms, causing it to trip or shut down unexpectedly. This is a protective measure to prevent damage to the compressor and other components due to excessive pressure.
If your AC unit frequently trips or shuts down, it’s a strong indication that head pressure is too high.
4. Increased Energy Bills
Higher head pressure forces the system to work harder, resulting in increased energy consumption and higher utility bills. When the compressor has to operate continuously to maintain the desired temperature due to high head pressure, it draws more power, leading to a significant increase in energy usage. This not only puts a strain on your wallet but also reduces the overall efficiency of your ac system.
5. Ice Formation on Evaporator Coil
High head pressure can cause the evaporator coil to freeze due to insufficient refrigerant flow, leading to reduced airflow and poor cooling performance. According to the U.S. Department of Energy, refrigerant leaks can reduce the efficiency of an ac system by up to 20% or more.
When head pressure is too high, it disrupts the delicate balance of refrigerant flow, causing the evaporator coil to become excessively cold and form ice. This ice buildup restricts airflow and hinders the system’s ability to effectively cool the indoor air.
6. Audible Noises or Vibrations
Unusual noises such as hissing, gurgling, or banging may indicate issues with the compressor or other components due to high head pressure. When the pressure in the system is too high, it can cause excessive vibrations and strain on the compressor, leading to unusual sounds.
These noises serve as a warning sign that the head pressure is not within a reasonable range and requires immediate attention. Ignoring these audible indicators can result in severe damage to the compressor and other components of your system.
Can’t Manage Your Head Pressure? Contact HVAC Angel
At HVAC Angel, we understand the importance of maintaining optimal head pressure in your system. As a trusted and experienced HVAC company, we specialize in providing top-notch services so that your system runs efficiently and effectively.
Our team of certified technicians is well-versed in diagnosing and resolving head pressure issues, and we use state-of-the-art equipment to accurately measure and analyze your system’s performance.
With our extensive knowledge of head pressure in HVAC systems, we can quickly identify the root cause of the problem and provide targeted solutions.
If you’re struggling to manage your system’s head pressure, don’t hesitate to contact HVAC Angel. Our friendly and knowledgeable staff is ready to assist you with all your HVAC needs, from routine maintenance to emergency repairs. Call us today to schedule a consultation and experience the HVAC Angel difference!
Frequently Asked Questions
1. How often should I measure head pressure in my HVAC system?
It’s recommended to measure head pressure at least once a year as part of your regular HVAC maintenance. However, if you notice any signs of high head pressure or reduced system performance, it’s best to measure head pressure promptly to identify and address any issues.
2. How do I know if I need to measure head pressure in my HVAC system?
If you experience any of the following signs, it’s a good indication that you should measure head pressure:
- Warm air blowing from vents instead of cool air
- Compressor running continuously or frequently tripping
- Increased energy bills
- Ice formation on the evaporator coil
- Unusual noises or vibrations from the system
3. Can I measure head pressure myself, or do I need a professional technician?
While it’s possible to measure head pressure yourself if you have the proper equipment and knowledge, it’s generally recommended to have a professional HVAC technician perform this task. They have the expertise to accurately measure head pressure, interpret the results, and identify any issues that may require repairs or replacement of components like the fan blade or compressor.

