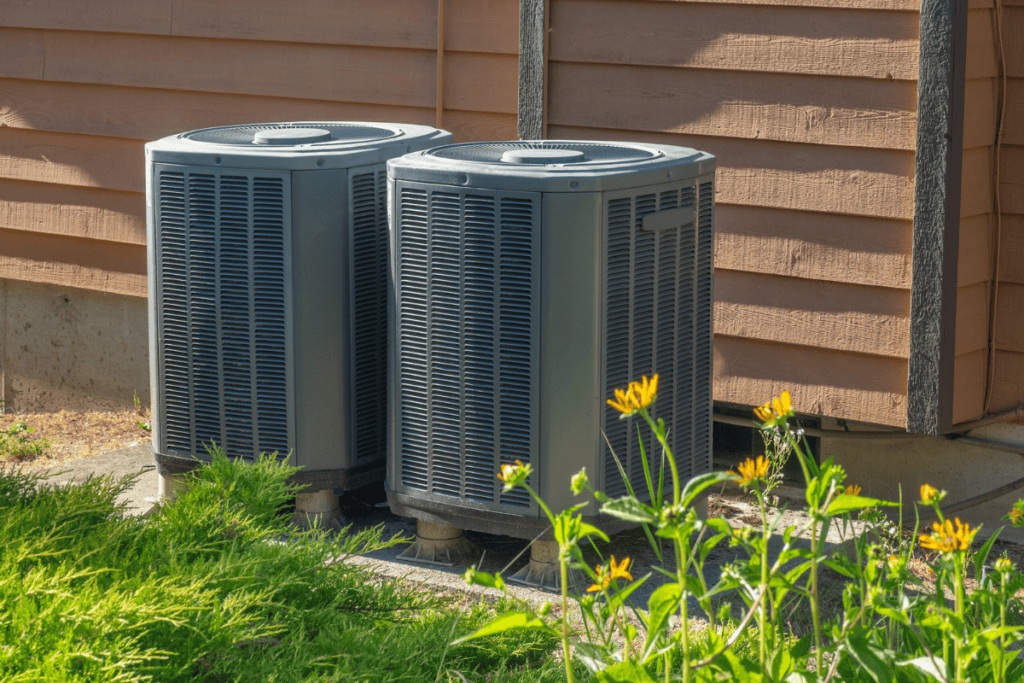
Proper ventilation is the core for efficient operation of portable air conditioners. These versatile cooling units can last between 5 to 10 years with appropriate maintenance, but they need to expel hot air and moisture to function effectively. While window venting is the most common method, it’s not always feasible or desirable for every situation.
In some cases, you may not have access to a suitable window, or you might prefer to keep your window free for other purposes. This article explores the importance of ventilation for portable air conditioners and provides step-by-step guides for 6 alternative methods to vent your portable AC without relying on a window.
By implementing these effective non-window venting options, you can make sure that your portable unit operates efficiently and maintains a comfortable indoor environment, even in spaces where traditional window venting isn’t an option.
Contents
- 1 How to Vent a Portable Air Conditioner Without a Window?
- 2 Why is it Necessary to Vent Your Portable AC?
- 3 Consequences of Inadequate Ventilation
- 4 DIY vs Hiring a Professional for Portable AC Unit Needs
- 5 Frequently Asked Questions
How to Vent a Portable Air Conditioner Without a Window?
1. Venting Through a Wall

Required Tools and Materials:
- Tools: Drill, hole saw (sized to match your vent kit), measuring tape, level, screwdriver
- Materials: Wall vent kit (suitable for your portable AC), exhaust hose, sealant, screws, mounting hardware
Step-by-Step Installation Guide:
1. Choose a suitable location on the wall to vent your ac, especially if it’s a room without windows. The spot should be close to your AC unit and allow for easy installation of the vent kit.
2. Measure the diameter of your vent kit and mark the center of the hole on the wall. Use a level so that the marking is straight.
3. Drill a pilot hole at the center of your marking. Then, use the hole saw to cut a hole in the wall that matches the size of your vent kit. Take care to keep the drill level and steady.
4. From the outside, insert the exterior part of the vent kit into the hole. Secure it to the wall using the provided screws and mounting hardware.
5. Inside the room, attach the interior part of the vent kit, making sure it aligns properly with the exterior piece. Use screws to fasten it securely.
6. Take one end of the exhaust hose and connect it to the back of your portable AC unit. Attach the other end to the interior part of the wall vent kit. If needed, use clamps or duct tape to create a tight seal and prevent air leaks.
7. Apply a bead of sealant around the edges of the vent kit, both on the interior and exterior sides. This will provide a proper seal and prevent hot air from leaking back into the room or cold air from escaping outside through the vent hose.
8. Turn on your portable air conditioner and check that the hot air is being exhausted through the wall vent properly.
2. Venting Through a Drop Ceiling
Necessary Equipment:
- Tools: Ladder, screwdriver, utility knife
- Materials: Drop ceiling vent kit (compatible with your portable AC), exhaust hose, sealing tape
Installation Steps:
1. Identify the ceiling tile where you plan to install the vent for your portable air conditioning unit. Choose a location close to your unit for easy installation and efficient venting.
2. Carefully remove the selected ceiling tile by lifting it out of the ceiling grid. Set it aside for later use if needed.
3. Take the vented ceiling tile provided in your drop ceiling vent kit and place it into the empty space left by the removed tile. Make sure it fits securely in the grid.
4. Attach one end of the exhaust hose to the back of your portable unit. Connect the other end to the vented ceiling tile, following the manufacturer’s instructions. Use clamps or duct tape to create a tight seal and prevent warm air from leaking.
5. Use sealing tape around the connection points between the exhaust hose and the vented ceiling tile so that there are no air leaks. This will help your portable AC operate more efficiently and prevent cool air from escaping into the drop ceiling space.
6. Turn on your portable AC and verify that the warm air is being vented properly through the drop ceiling.
3. Venting Through a Sliding Door
Materials and Tools Needed:
- Tools: Measuring tape, utility knife
- Materials: Sliding door vent kit (compatible with your portable AC), weatherstripping, sealing tape
Installation Instructions:
1. Start by measuring the height of your sliding door opening. This will help you determine the necessary size for the vent panel included in your sliding door vent kit.
2. Adjust the vent panel according to the measurements of your sliding door opening. Most kits come with an adjustable panel that can be cut to fit your specific door size.
3. Insert the adjusted vent panel into the sliding door track. Make sure that it fits snugly and securely, preventing any gaps or spaces that could allow air to leak.
4. Take one end of the exhaust hose and connect it to the back of your portable air conditioning unit. Attach the other end of the hose to the vent panel, following the manufacturer’s instructions. Use clamps or duct tape to create a tight seal and prevent any air leaks.
5. To further seal the vent panel and prevent cool air from escaping, apply weatherstripping along the edges where the panel meets the sliding door frame. This will help create an airtight seal and improve the efficiency of your portable AC.
6. Use sealing tape around the connection points between the exhaust hose and the vent panel for a complete seal. This will prevent any warm air from leaking back into the room and maximize the cooling performance of your portable AC.
7. Turn on your portable air conditioner and check that the hot air is being properly vented through the sliding door.
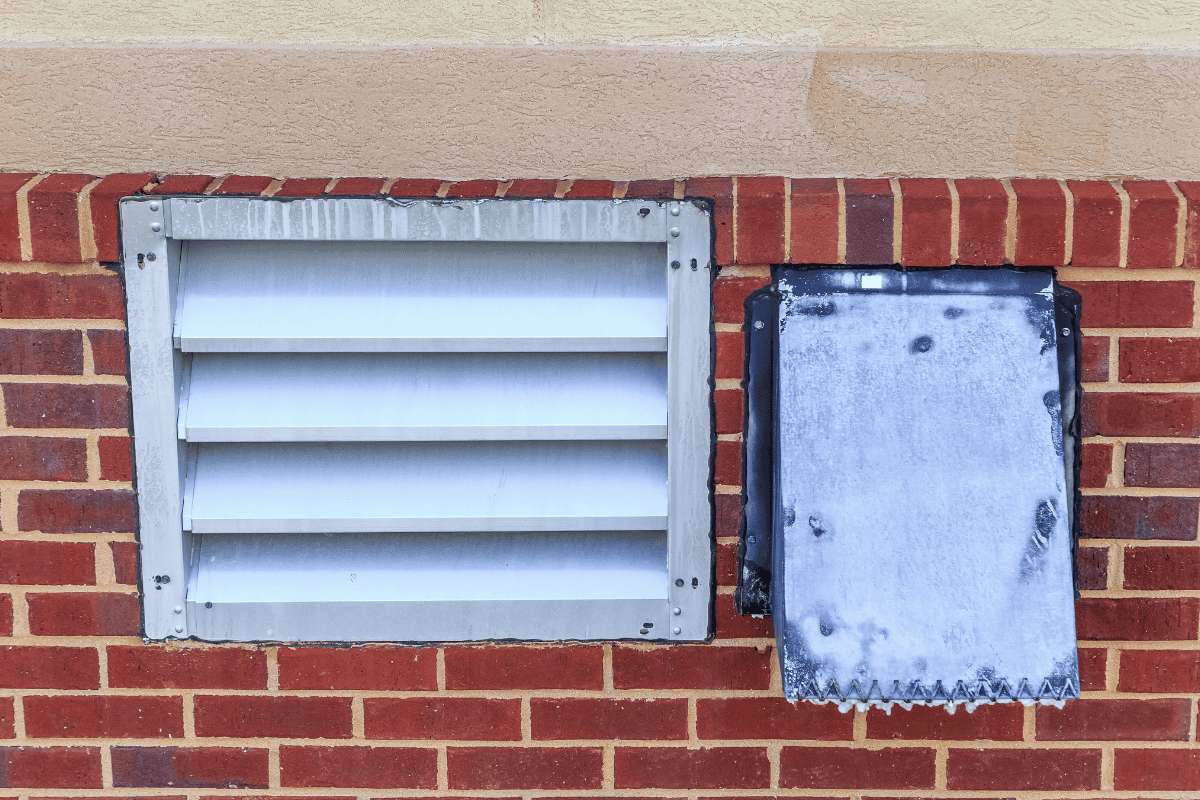
4. Using a Dryer Vent
Tools and Materials Required:
- Tools: Screwdriver, measuring tape
- Materials: Exhaust hose adapter (compatible with your portable AC and dryer vent), sealant, clamps
Step-by-Step Process:
1. Begin by locating the dryer vent in your home. Make sure that the vent is not in use and that there is enough space to connect your portable air conditioner’s exhaust hose.
2. Measure the diameter of your dryer vent and the exhaust hose of your portable AC. Purchase an adapter that is compatible with both the dryer vent and the exhaust hose.
3. Attach one end of the adapter to the exhaust hose of your portable air conditioning unit. Use clamps to securely fasten the adapter to the hose, providing a tight fit to prevent any air leaks.
4. Connect the other end of the adapter to the dryer vent. Make sure the connection is snug and secure, using clamps if necessary. This will allow the hot air from your portable AC to be vented outside through the dryer vent.
5. Apply a bead of sealant around the connection points between the adapter, exhaust hose, and dryer vent. This will create an airtight seal, preventing any cool air from escaping and ensuring that the warm air is efficiently vented outside.
6. Double-check that the exhaust hose is properly secured and free from any kinks or obstructions that could hinder airflow. The hose should be as straight as possible to facilitate optimal venting of the hot air.
7. Turn on your portable air conditioner and verify that the warm air is being vented properly through the dryer vent.
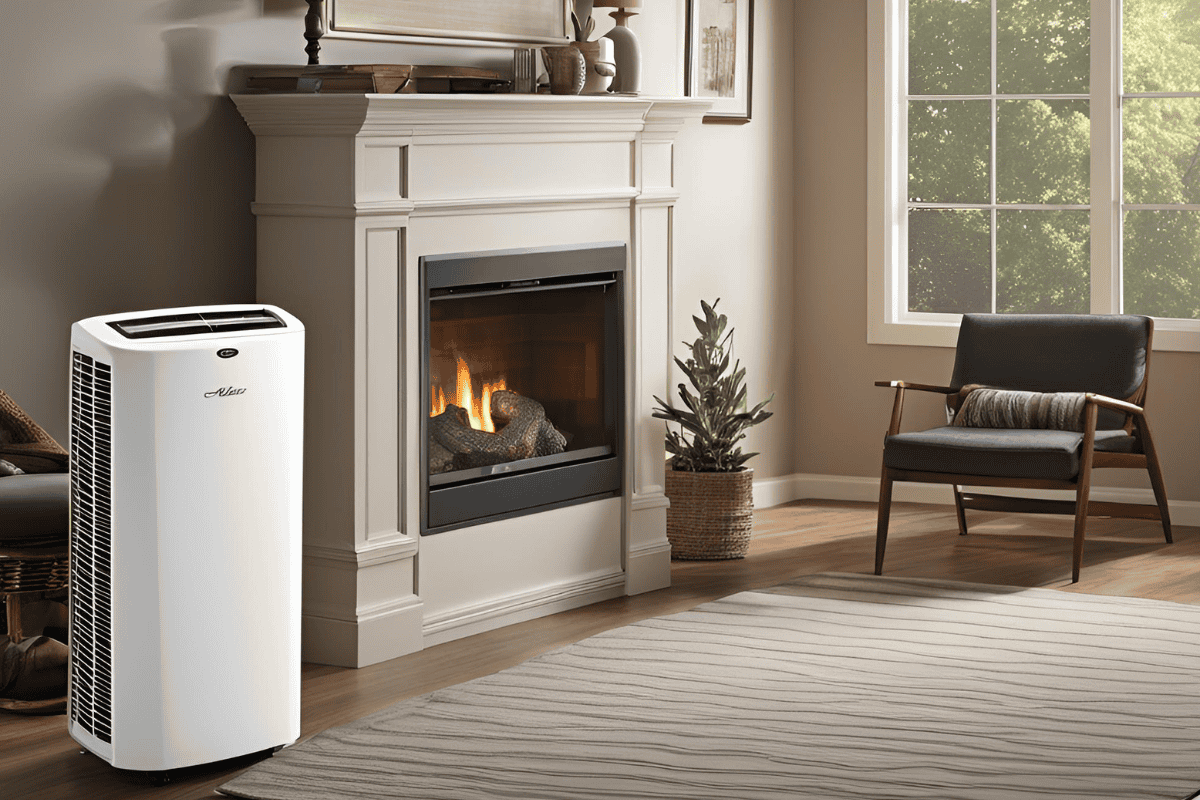
5. Venting Through a Chimney or Fireplace
Tools and Techniques
- Tools: Ladder, screwdriver, measuring tape
- Materials: Chimney vent kit (compatible with your portable AC), flexible exhaust hose, sealing materials (e.g., weatherstripping, sealant)
Installation Process
1. Begin by checking that your chimney or fireplace is not in use and that there are no obstructions or debris that could hinder the venting process.
2. Measure the dimensions of your chimney or fireplace opening to determine the appropriate size of the chimney vent kit needed for your portable air conditioner.
3. Connect one end of the flexible exhaust hose to the back of your portable unit. Secure it tightly using clamps or duct tape to prevent any air leaks.
4. Attach the other end of the exhaust hose to the chimney vent kit, following the manufacturer’s instructions. Make sure the connection is secure and airtight.
5. Carefully place the kit into the chimney or fireplace opening. Adjust it as needed for a proper fit and seal.
6. Secure the chimney vent kit in place according to the manufacturer’s guidelines. This may involve using screws, brackets, or other hardware provided with the kit.
7. To prevent any air leaks and get optimal venting, apply weatherstripping or sealant around the edges of the chimney vent kit where it meets the chimney or fireplace opening. This will create an airtight seal and prevent hot air from escaping back into the room.
8. Double-check all connections and seals to make sure that they are secure and that there are no gaps or leaks that could hinder the venting process.
9. Turn on your portable AC and verify that the hot air is being properly vented through the chimney or fireplace.
6. Venting Through a Drop Window Kit
Tools and Materials:
- Tools: Measuring tape, screwdriver
- Materials: Drop window vent kit (compatible with your portable AC), exhaust hose, sealant, clamps
Step-by-Step Installation Guide:
1. Start by measuring the dimensions of your drop window opening. This will help you determine the appropriate size of the drop window vent kit needed for your portable air conditioner.
2. Adjust the vent kit according to the manufacturer’s instructions to fit your drop window opening. Most kits come with adjustable panels that can be extended or shortened to accommodate different window sizes.
3. Insert the adjusted vent kit into the drop window opening, ensuring a snug and secure fit. The kit should sit firmly in place without any gaps or spaces that could allow air to leak.
4. Take one end of the exhaust hose and connect it to the back of your portable unit. Use clamps or duct tape to create an airtight seal and prevent any air leaks.
5. Attach the other end of the exhaust hose to the drop window vent kit, following the manufacturer’s guidelines. Make sure the connection is secure and properly sealed for efficient venting of the hot air outside.
6. Apply a bead of sealant around the edges of the drop window vent kit where it meets the window frame. This will create an airtight seal, preventing any cool air from escaping and keeping the hot air vented outside.
7. Double-check all connections and seals to make sure that they are secure and there are no air leaks. Use additional clamps or sealant as needed to maintain a tight fit.
8. Turn on your portable air conditioner and verify that the hot air is being properly vented through the drop window vent kit.
Why is it Necessary to Vent Your Portable AC?
1. Efficient Cooling
Discharging a portable air conditioner is important for efficient cooling. As the unit operates, it generates hot air and moisture that must be expelled outside. Without proper venting, this hot air would remain in the room, counteracting the cooling effect.
2. Maintaining Comfort
Proper ventilation prevents the recirculation of hot air and humidity back into the room. If a portable AC is not vented correctly, the hot air it produces will mix with the cool air, reducing the overall cooling efficiency and leading to discomfort.
The excess moisture generated by the unit can increase humidity levels, making the room feel stuffy and uncomfortable.
3. Protecting the Unit
Venting your portable AC helps protect the unit from overheating. When hot air is not adequately expelled, it can cause the air conditioner to work harder, putting extra strain on the compressor and other components.
This can lead to reduced performance, increased energy consumption, and even premature failure of the unit.
4. Energy Efficiency
Proper ventilation helps your portable AC in operating efficiently, reducing energy consumption and costs. When hot air is effectively removed from the room, the unit can cool the space more quickly and maintain the desired temperature with less effort.
This means the air conditioner will cycle on and off less frequently, saving energy and keeping your electricity bills in check.
5. Improved Air Quality

By venting the unit and removing this moisture, you create a drier environment that is less conducive to the growth of these harmful organisms, promoting healthier air quality in your home.
6. Consistent Performance
Proper ventilation facilitates that your portable AC performs consistently throughout its use. When hot air and moisture are effectively removed, the unit can maintain its cooling capacity and provide reliable comfort.
Consequences of Inadequate Ventilation
1. Decreased Efficiency
When a portable air conditioner is not properly vented, it can lead to decreased efficiency. The unit has to work harder to cool the room, as it struggles to remove the hot air it generates.
This increased workload puts a strain on the compressor and other components, reducing the overall efficiency of the portable AC. As a result, the unit consumes more energy, leading to higher electricity bills.
2. Increased Humidity and Heat
Inadequate ventilation can cause hot air and moisture to recirculate back into the room, rather than being expelled outside. When you use a portable air conditioner without proper venting, the hot exhaust air mixes with the cool air being produced, leading to higher temperature and humidity levels in the room.
The excess moisture can lead to the growth of mold and mildew, which thrive in damp conditions. According to the Centers for Disease Control and Prevention (CDC), mold exposure can cause health issues, such as nasal stuffiness, throat irritation, and eye irritation.
3. Damage to the Unit
Inadequate venting leads to overheating, as the hot air generated by the air conditioner remains trapped inside the unit. This can cause internal damage to various components, such as the compressor, condenser coils, and electrical parts.
Overheating can significantly shorten the lifespan of your portable air conditioner, as it puts excessive strain on the system. In some cases, it may even pose a fire hazard if the unit overheats to a dangerous level. Inadequate ventilation can also lead to more frequent breakdowns, requiring costly repairs or even complete replacement of the unit.
DIY vs Hiring a Professional for Portable AC Unit Needs
DIY Installation and Venting
- Cost Savings: One of the primary benefits of a DIY project is the potential to save money on labor costs. If you have the time, tools, and motivation to tackle the installation yourself, you can avoid paying for professional services.
- Flexibility: DIY installation allows you to work on your own schedule and make adjustments as needed. You have control over the process and can take your time for proper venting, whether it’s through a window, door, wall, or ceiling.
- Potential Mistakes: However, without the expertise and experience of a professional, there’s a risk of making errors that could affect the efficiency and performance of your portable AC.
Hiring a Professional
- Expertise and Experience: When you hire a professional HVAC technician, you can rely on their knowledge and skills for proper installation and venting of your portable unit.
- Efficiency: Professionals can complete the job quickly and efficiently, saving you time and hassle. They have the necessary tools and equipment to handle the installation process smoothly.
- Warranty and Guarantees: Many professional HVAC companies offer warranties or guarantees on their workmanship. This provides peace of mind knowing that if any issues arise due to the installation, you have support and resources available to resolve them.
When All Else Fails, Contact HVAC Angel!
At HVAC Angel, we understand the importance of proper installation and venting for your portable unit.
Our team of highly skilled and experienced technicians is equipped with the latest tools and techniques to handle any portable unit installation challenge. Whether you need to vent your unit through a window, door, wall, or ceiling, we have the expertise to find the best solution for your specific needs.
With years of experience in the HVAC industry, we have successfully installed and vented countless portable air conditioners in various settings. We pride ourselves on our attention to detail, professionalism, and commitment to customer satisfaction.
Don’t let improper installation or venting compromise the comfort of your home or office. Contact HVAC Angel today to schedule your portable air conditioner installation and experience the difference our expertise can make. Trust us to provide the best HVAC service and solutions for your needs.
Frequently Asked Questions
1. Can a portable air conditioner be vented into another room?
No, a portable air conditioner should not be vented into another room; consider finding a way to vent a portable ac through an appropriate outlet. The exhaust hose must be directed outside to expel the hot air and moisture effectively. Venting into another room will only transfer the heat and humidity, making both rooms uncomfortable.
2. Does portable unit need water?
Most portable ACs do not require water to operate. They use refrigerant to cool the air and collect moisture from the room in a built-in tank or drain it through a hose.
3. Do all portable AC units need to be vented?
Yes, all portable air conditioners need to be vented to function properly. The exhaust hose is important for removing hot air and moisture generated during the cooling process. Without proper venting, the unit will not be able to cool the room effectively.
4. Can I use a portable AC without venting it?
No, you should not use a portable unit without venting it. Failure to vent the unit will cause hot air and moisture to recirculate back into the room, counteracting the cooling effect and potentially damaging the air conditioner.
5. How often do I need to drain my portable air conditioner?
The frequency of draining your portable unit depends on the model and the humidity levels in your room. Some units have a self-evaporative system that minimizes the need for manual draining, while others require emptying the water tank more frequently, especially in humid environments. Refer to your unit’s manual for specific drainage instructions and recommendations.


![9 Reasons That Causes an AC Unit to Freeze Up: [Troubleshooting Guide]](https://hvacangel.com/wp-content/uploads/2024/05/what-causes-a-ac-unit-to-freeze-up-1024x683.png)
