Your air conditioner is the most important source of comfort in your home, especially during the hot summer months. A well-maintained AC unit operates efficiently, providing you with the desired comfort while keeping your energy bills in check. However, many homeowners avoid cleaning their air conditioning units, which can lead to various problems.
A dirty air conditioner not only operates less efficiently but also poses potential health issues. Dust, dirt, and debris accumulated on the coils and fins can restrict airflow, causing the AC unit to work harder and consume more energy. Moreover, a dirty air conditioner can circulate pollutants and allergens throughout your home, affecting your indoor air quality and triggering respiratory issues.
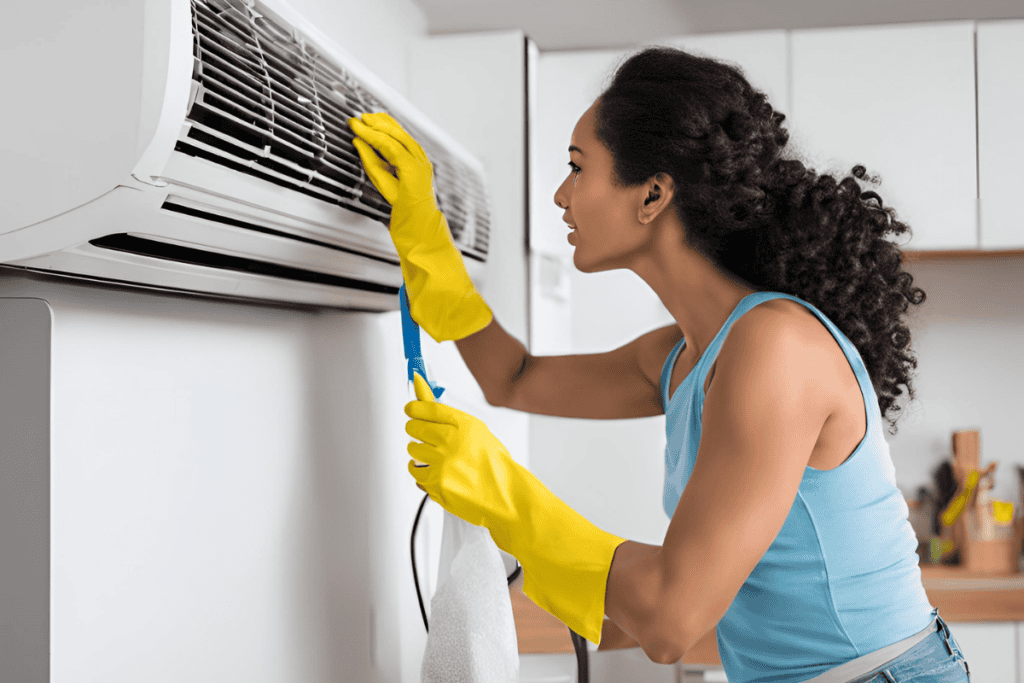
In this article, we’ll guide you through the process of cleaning a wall-mounted air conditioner at home.
Contents
- 1 Necessary Tools and Supplies
- 2 How To Clean Air Conditioner Wall Unit?
- 2.1 1. Turn Off Your AC
- 2.2 2. Remove the Front Panel
- 2.3 3. Clean the Filter
- 2.4 4. Clean the Evaporator Coils
- 2.5 5. Clean the Fins
- 2.6 6. Clean the Condenser Coils
- 2.7 7. Clean the Blower Fan
- 2.8 8. Clean the Drain Pan and Drainage System
- 2.9 9. Clean the Outdoor Unit
- 2.10 10. Reassemble and Test the Unit
- 3 Why It Is Important to Clean the Air Conditioner Wall Unit
- 4 Get Professional Cleaning for Your AC Unit with HVAC Angel
- 5 Frequently Asked Question
Necessary Tools and Supplies
- Screwdriver
- Soft brush
- Vacuum cleaner with a brush attachment
- Mild detergent
- Warm water
- Fin comb
- Coil cleaner (optional)
- Clean, dry cloths or towels
- Spray bottle
How To Clean Air Conditioner Wall Unit?
1. Turn Off Your AC
The first step in cleaning your wall-mounted air conditioner is to ensure your safety. Before beginning the cleaning process, you must turn off your unit completely. Locate the power button on your air conditioner and press it to switch off the unit.
2. Remove the Front Panel
Remove the front panel by unscrewing the screws holding it in place using a screwdriver. Set the screws aside safely. Carefully pull the panel away from the unit and place it in a secure spot. Wipe the panel clean with a damp cloth to remove dust and debris, giving your window air conditioner unit a good clean.
After cleaning the panel, vacuum the inside of the unit using a vacuum cleaner with a brush attachment, focusing on areas around the coils and fan to eliminate accumulated dirt and ensure efficient operation.
3. Clean the Filter
The air filter is a vital component of your air conditioner that traps dust, debris, and other particles, providing clean and healthy air circulation. To access the filter, locate it just behind the front panel of your unit. Carefully slide the filter out, being cautious not to dislodge any accumulated dust and debris.
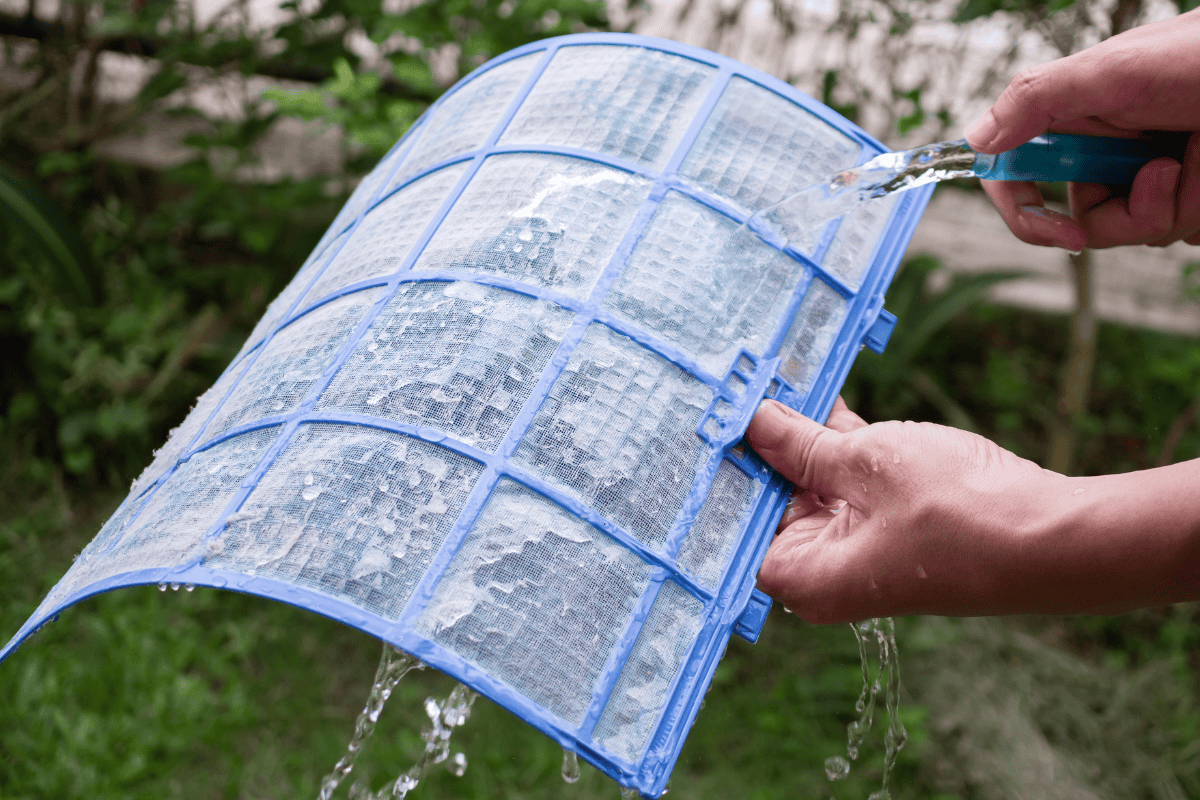
Start by vacuuming the air filter to remove loose dust and debris. This initial step will make the subsequent washing process more effective. Next, fill a basin with warm water and add a mild detergent. Submerge the filter in the soapy water and gently scrub it to remove any remaining dirt and grime. Be sure to clean both sides of the filter thoroughly.
After scrubbing, rinse the filter under running water to remove any soap residue. It’s important to make sure that all the soap is removed, as any remaining residue can attract more dust and debris once the filter is back in use.
Once the filter is clean, allow it to dry completely before reinstalling it in your air conditioner. Placing a wet or damp filter back into the unit can lead to mold growth, which can cause unpleasant odors and potential health issues.
If your air conditioner has a disposable filter that cannot be washed and reused, replace it with a new one. According to the U.S. Department of Energy, replacing a dirty, clogged filter with a clean one can lower your air conditioner’s energy consumption by 5% to 15%.
4. Clean the Evaporator Coils
To clean the coils, start by using a soft brush to gently remove any visible dust and debris. Be cautious while brushing the coils, as the fins are delicate and can easily bend or become damaged. Use light, gentle strokes to dislodge the dirt without applying too much pressure.
After brushing, spray the coils with a coil cleaner or a mild detergent solution. These cleaning solutions are specifically designed to break down grease and grime on the coils without causing damage. Allow the solution to sit on the coils for a few minutes, giving it time to penetrate and loosen the dirt.
Next, use a spray bottle filled with clean water to rinse the coils gently. Avoid using excessive water pressure, as this can damage the fins. Instead, lightly mist the coils, allowing the water to flush away the loosened dirt and the applied solution.
5. Clean the Fins
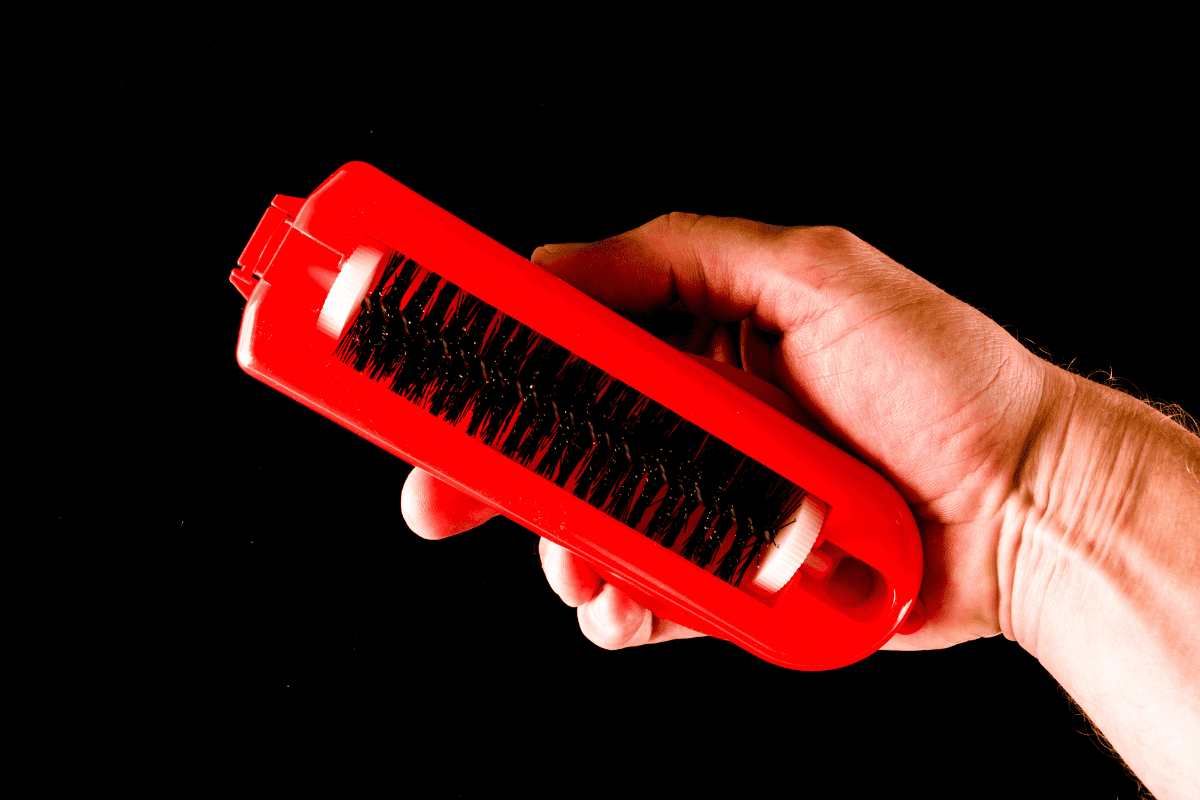
Before starting, inspect the fins closely to identify any areas where the fins are bent or damaged. Use a specialized tool called a fin comb to straighten the fins. Gently insert the fin comb into the spaces between the fins, making sure that the comb’s teeth align properly with the fin spacing. Be careful not to force the comb, as this can cause further damage to the delicate fins.
Carefully and slowly pull the fin comb through the fins, applying gentle pressure to straighten any bent areas. Move the comb steadily and deliberately, taking care not to bend the fins in the opposite direction. Be patient and gentle during this process to avoid causing any additional damage. Start at either the top or bottom of the coil and work your way methodically to the other end.
After straightening the fins, use a soft brush or a vacuum cleaner with a brush attachment to gently remove any dust or debris that may have accumulated on the coil during the cleaning process. This final step will help restore your air conditioner’s efficiency and provide optimal airflow through the unit.
6. Clean the Condenser Coils
The condenser coils in your air conditioner are located in the outdoor unit and require cleaning to maintain efficient operation. Similar to cleaning the evaporator coils, use a soft brush to gently remove any visible dust and debris from the condenser coils. Be cautious while brushing the coils to avoid damaging the delicate fins.
After brushing, spray the condenser coils with a coil cleaner or a mild detergent solution designed for air conditioner cleaning. Allow the solution to sit on the coils for a few minutes, giving it time to penetrate and loosen the dirt and grime. Once the solution has had time to work, use a spray bottle filled with clean water to gently rinse the condenser coils.
Avoid using high-pressure water, as this can bend or damage the fins on the coils. If the coils are heavily soiled, you may need to repeat the cleaning process until they are completely clean.
7. Clean the Blower Fan
To clean the blower fan in your air conditioner wall unit, start by using a vacuum cleaner with a brush attachment. Carefully vacuum the blades of the fan, paying attention to both sides and the center hub, as these areas can collect significant amounts of dust and debris.
After vacuuming, use a damp cloth to wipe down the blades for a more thorough cleaning. Be sure to wring out the cloth well to avoid introducing excessive moisture into the air conditioner. Gently wipe each blade, so that you remove any remaining dirt or grime. If the blades are particularly dirty, you may need to use a mild detergent solution on the cloth to help break down stubborn debris.
Once you’ve cleaned the blades with the damp cloth, allow the fan to air dry completely before reassembling your unit. Regular cleaning of the blower fan will help maintain optimal airflow and improve your air conditioner’s overall performance.
8. Clean the Drain Pan and Drainage System
The drain pan and drainage system are vital components of your air conditioner wall unit that help remove excess moisture and prevent water damage. To clean the drain pan, start by wiping it down with a cloth soaked in soapy water. Be sure to clean all surfaces thoroughly to prevent the growth of mold and mildew, which can cause unpleasant odors and potential health issues. After cleaning, rinse the drain pan with clean water and dry it completely with a clean towel or allow it to air dry.
Next, inspect the drainage hole to check it is clear of any blockages. A clogged drainage system can cause water to overflow from the drain pan, leading to water damage in your home. If you notice any clogs, use a pipe cleaner or a similar tool to carefully remove the blockage. You can also use a mixture of warm water and vinegar to help break down any stubborn debris and ensure the drainage hole is fully clear.
If your air conditioner wall unit has an accessible drain line, it’s a good idea to flush it out as well. Locate the end of the drain pipe and place a bucket underneath it. Pour a mixture of warm water and vinegar into the drain pan and let it flow through the drain line to help remove any built-up dirt and debris.
9. Clean the Outdoor Unit
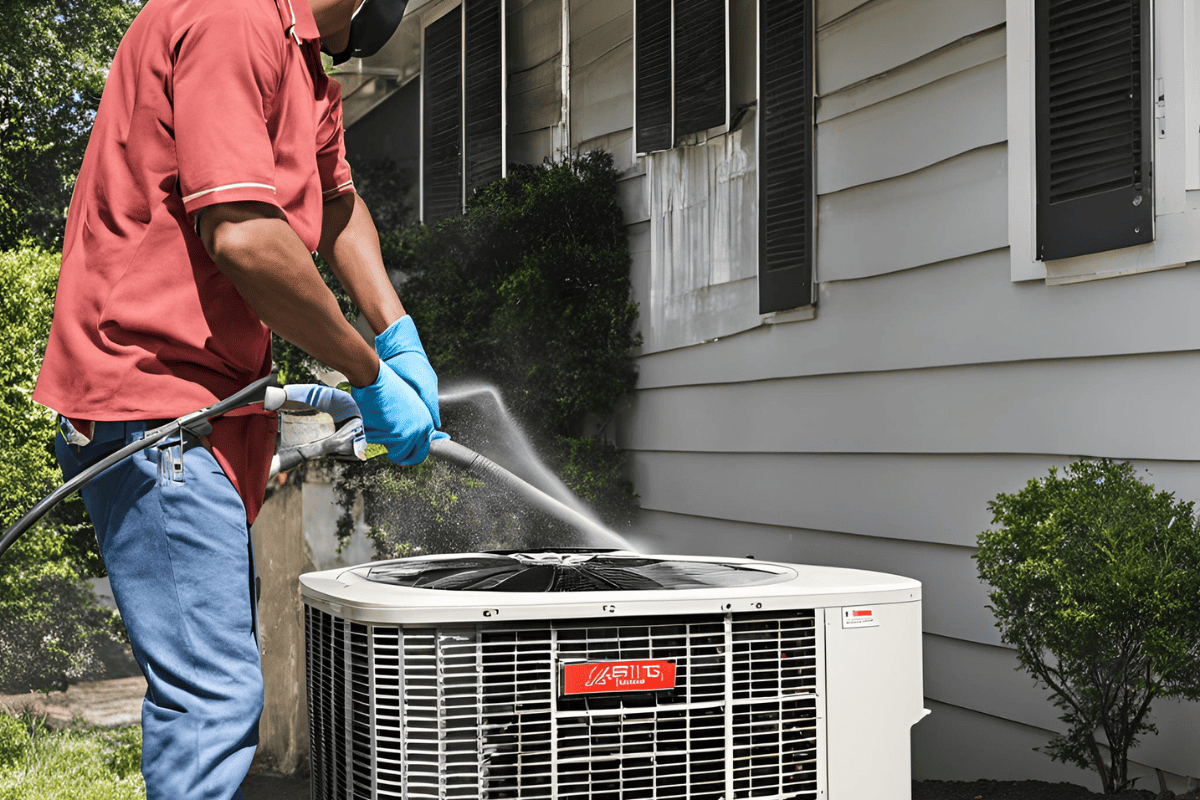
For your air conditioner to operate at peak efficiency, it’s essential to clean the outdoor unit as well. Start by clearing away any leaves, dirt, and debris that may have accumulated around the unit. This debris can obstruct airflow and cause your air conditioner to work harder than necessary, leading to reduced efficiency and potential damage.
Next, use a damp cloth to wipe down the exterior of the outdoor unit, removing any dust, dirt, or grime that has built up on the surface. This step not only improves the appearance of your air conditioner but also helps prevent the dirt from entering the unit and affecting its performance.
Since you have already cleaned the fins and coils as part of your regular maintenance routine, you can now focus on removing any remaining dust from inside the outdoor unit. Use a vacuum cleaner with a brush attachment to gently remove any dust or debris that may have settled inside the unit during the cleaning process.
Once you have finished cleaning the interior of the outdoor unit, reattach the protective grille and secure it with the appropriate screws. This grille helps prevent leaves, dirt, and other debris from entering the unit and causing damage or reducing its efficiency.
10. Reassemble and Test the Unit
After completing the cleaning process, it’s time to reassemble your air conditioner wall unit and to make sure t’s functioning properly. First, make sure the filter is completely dry before reinstalling it.
Once the filter is dry, carefully slide it back into place, making sure it sits securely in its designated slot. Next, reattach the front panel of your indoor unit, aligning it properly with the main body of the air conditioner. Use the screws you removed earlier to fasten the panel securely.
With the reassembly complete, it’s time to restore power to your air conditioner. Plug the unit back into the electrical outlet and turn it on using the power button or your remote control. Allow the air conditioner to run for a few minutes while you observe its operation.
During this test run, pay attention to any unusual noises or vibrations coming from the indoor unit. These could indicate that something is not properly aligned or secured. Also, check the airflow coming from the vents to know it’s strong and unobstructed. If you notice any issues, turn off the unit and double-check your reassembly work.
Why It Is Important to Clean the Air Conditioner Wall Unit
1. Improves Air Quality
Cleaning your ac wall unit regularly helps reduce the amount of dust, allergens, and pollutants circulating through the air in your home. A clean air conditioner also prevents the growth of mold and mildew, which can cause respiratory issues and trigger asthma symptoms.
According to the Centers for Disease Control and Prevention (CDC), mold exposure can lead to various health problems, including nasal stuffiness, throat irritation, coughing, and wheezing.
2. Increases Efficiency
A clean air conditioner wall unit operates more efficiently, enhancing its cooling performance and reducing energy consumption. When an air conditioner’s filters, coils, and fins become dirty, the unit has to work harder to cool your home, resulting in a decline in performance while energy use steadily increases. By keeping your air conditioner clean, you can make sure that it runs at optimal efficiency, ultimately leading to lower electricity bills.
3. Extends the Lifespan of the Unit
Regular cleaning and maintenance of your air conditioner wall unit can help extend its lifespan by preventing unnecessary wear and tear on its components. This reduces the likelihood of costly repairs or replacements down the line. Neglecting necessary maintenance can lead to a decline in AC performance and increased energy use over time, as stated by the U.S. Department of Energy.
4. Prevents Unpleasant Odors
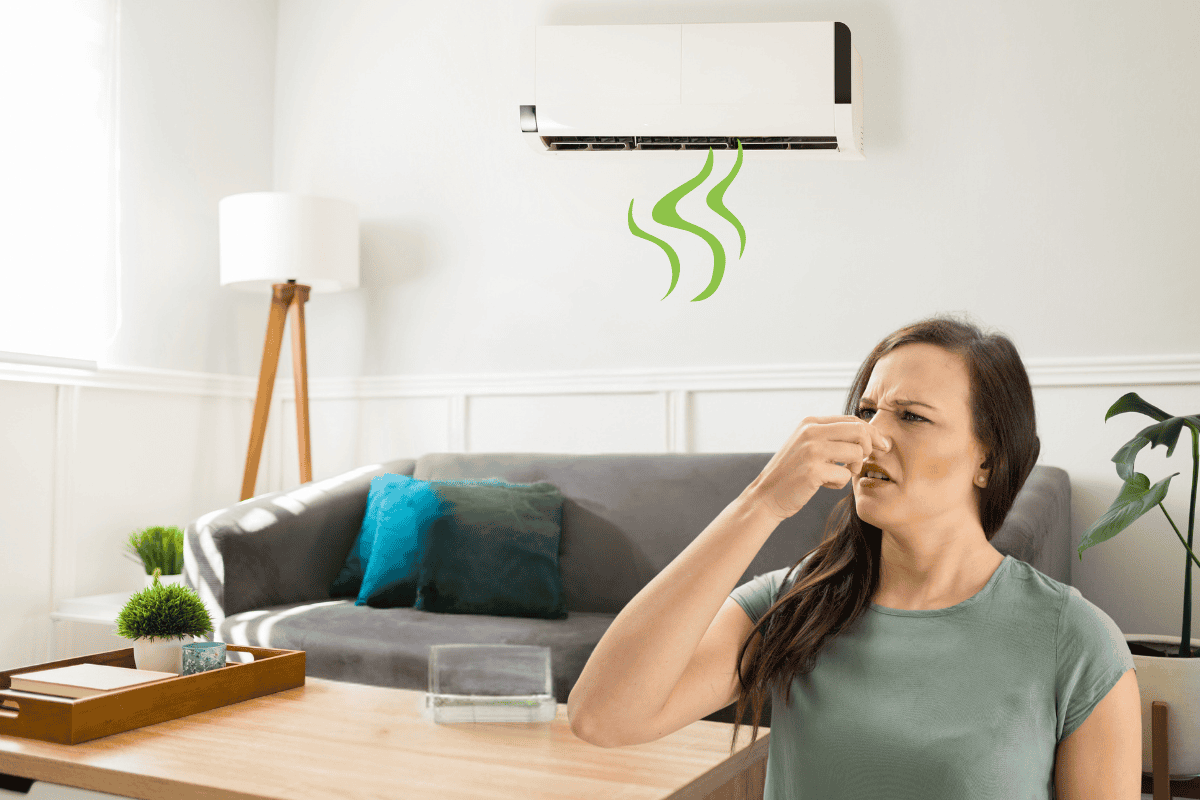
Accumulated dirt, debris, and moisture within your air conditioner wall unit can cause musty or stale smells, which can be unpleasant for you and your guests. By cleaning your indoor cooling unit regularly, you can eliminate these odors and ensure that the air in your home remains fresh and clean.
5. Maintains Manufacturer’s Warranty
Many air conditioner manufacturers require regular maintenance to keep the unit’s warranty valid. Failing to properly maintain your air conditioner wall unit according to the manufacturer’s guidelines may void the warranty, leaving you responsible for any repairs or replacements that would otherwise be covered.
Get Professional Cleaning for Your AC Unit with HVAC Angel
While cleaning your air conditioner wall unit is essential for maintaining its performance and longevity, it can be a time-consuming and challenging task. That’s where HVAC Angel comes in.
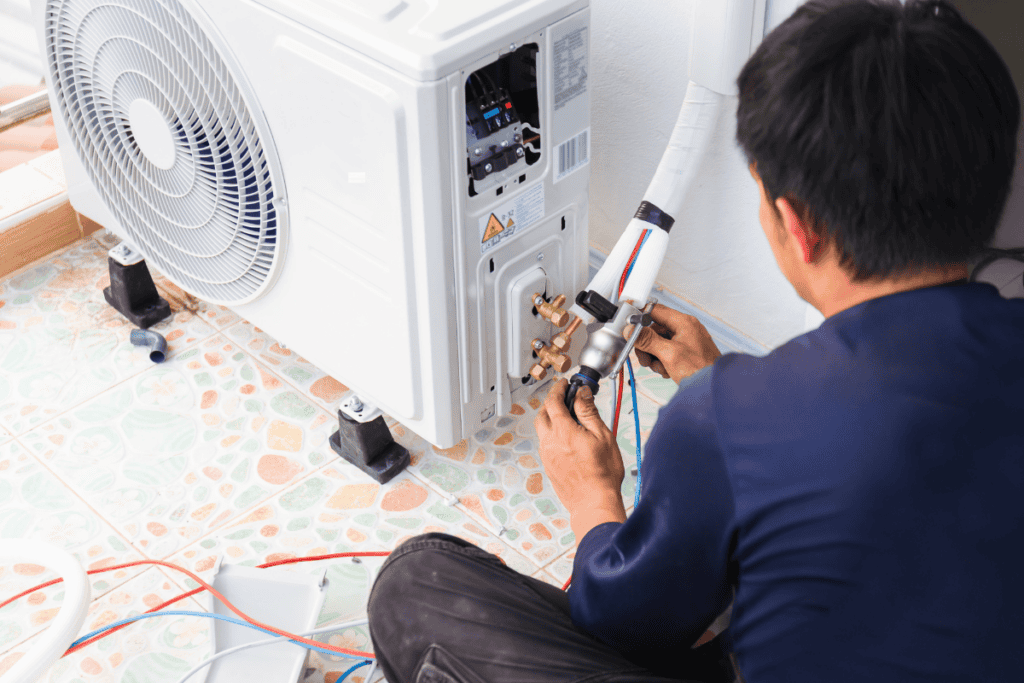
At HVAC Angel, we have a team of highly skilled and experienced technicians who are equipped with the latest tools and technologies to clean your air conditioner thoroughly and efficiently. Our state-of-the-art equipment allows us to deep clean every component of your unit, including the coils, fins, and blower fan, ensuring optimal performance and air quality.
With years of experience in the industry, our technicians have the knowledge and expertise to handle any type of air conditioner, including window air conditioners and central air systems. We understand the unique challenges that come with cleaning different types of units, and we have developed proven strategies to overcome them.
When you choose HVAC Angel for your ac cleaning needs, you can trust that your unit is in good hands. We are dedicated to providing our customers with the highest level of service and care, and we stand behind our work with a satisfaction guarantee. Whether you need a one-time deep cleaning or regular maintenance services, we are here to help you keep your air conditioner running smoothly and efficiently.
Don’t let a dirty air conditioner compromise your comfort, health, or energy bills. Contact HVAC Angel today to schedule your professional cleaning service and experience the difference that our expertise can make in your home.
Frequently Asked Question
1. Can I pour water in my AC to clean it?
No, you should never pour water directly into your air conditioner, as it can cause electrical damage and create a safety hazard. Instead, use a damp cloth or a cleaning solution specifically designed for air conditioners to clean the unit.
2. Can a dirty air conditioner affect my health?
Yes, a dirty air conditioner can circulate dust, allergens, and other pollutants throughout your home, which can trigger respiratory issues, allergies, and other health problems. Regular cleaning helps maintain good indoor air quality.
3. Can I use vinegar to clean AC?
Yes, a mixture of equal parts water and white vinegar can be used to clean certain components of your air conditioner, such as the coils and drain pan. However, be sure to rinse the surfaces thoroughly with clean water afterwards to remove any residue.
4. Can pets affect the cleanliness of my air conditioner?
Yes, pet hair and dander can accumulate on your air conditioner’s filters and coils, reducing its efficiency and air quality. If you have pets, it’s essential to clean your air conditioner more frequently and consider using pet-specific air filters.

